Photographing wildlife in nature can present unpredictable and ever-changing conditions that require a specific skillset and a lot of patience. Whether you’re interested in photographing vibrant birds in the jungle, large mammals from afar, or venturing beneath the surface for marine life imagery, knowing the fundamentals of wildlife photography will help guide you towards capturing the wildlife scenes you’re after.
Here are the 12 top wildlife photography tips for beginners to get you started.
Research

Moose in Alaska
Whether you’re an expert or a novice, one of the core elements of wildlife photography is knowing your subject. It’s not enough to simply head into the field with your camera in hand—you should be armed with facts about the specific animal you’ll be shooting, as well as the correct season and best time of day to spot them.
Some wildlife is notorious for being elusive. For example, moose in northern New England, Canada, or Alaska are drawn to marshy wetlands most often around sunrise or sunset. Therefore, venturing out on a moose photography mission around midday won’t produce the sightings and opportunities that you’ll find in the early morning or evening.
Research the behavior of your target animal, too, as you don’t want to attempt to capture a species during the wrong season. If you’re looking to photograph whales, for instance, learn everything about their migration patterns when planning your travels which will help land you in the right place at the right time.
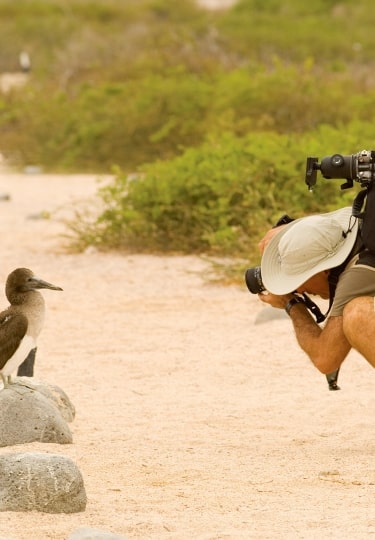
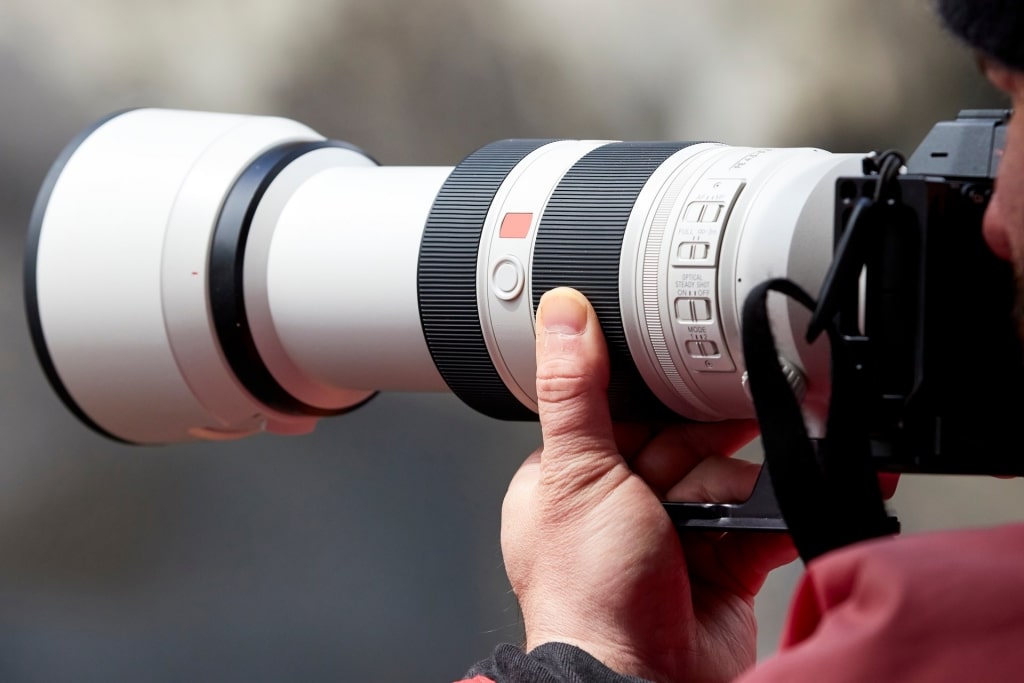
Invest in Good Camera Equipment
Telephoto lens
To capture wildlife, a good camera and lenses that can get the job done are important. A telephoto lens is essential for getting close shots of wildlife that are further away, so you don’t spook the animal.
When choosing lenses, look for low-light capabilities, since you want to have the flexibility to shoot at dawn and dusk when most animals are active or under tree cover, which can sometimes block natural light. A lens that shoots to at least 400mm is recommended.
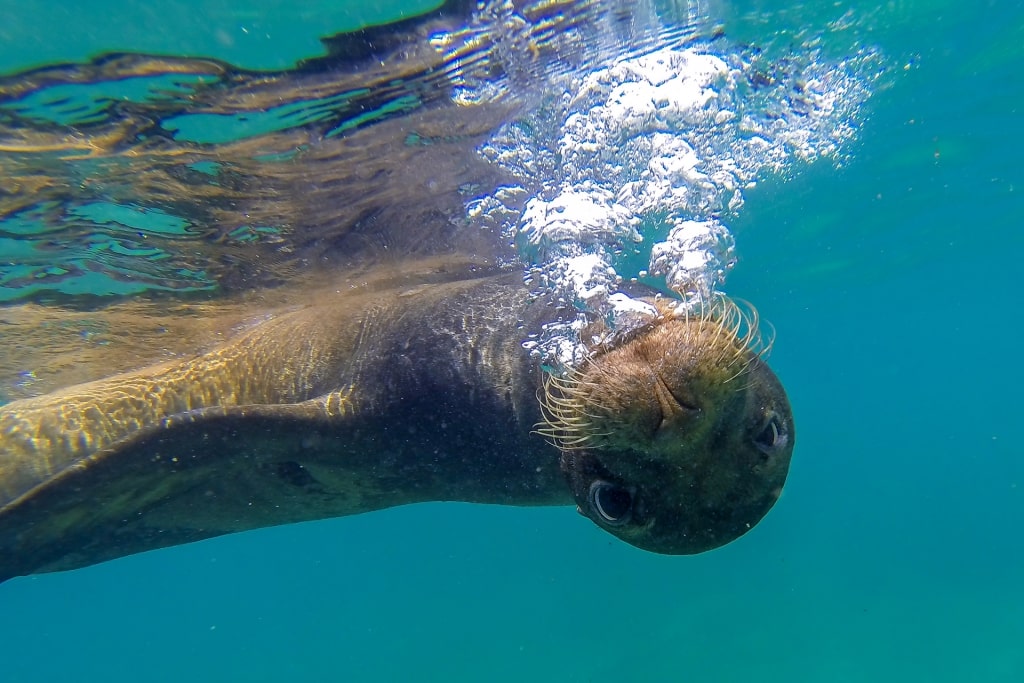
Sea lion in The Galapagos
A great camera bag is also crucial for comfort and effectiveness. You want to have the gear you’ll need, but you also don’t want to be weighed down by it in the field since walking or hiking is often part of the experience. A lot of wildlife photography requires being outdoors for a fair amount of time, therefore a waterproof pack or a waterproof rain cover is key to protect your equipment.
Underwater photography requires more involved equipment, like waterproof housing for your camera. Protect your camera and shoot amazing images of sea turtles and schools of tropical fish while snorkeling in the Caribbean’s clear waters without having to worry about ruining your expensive gear.
Shoot in Manual or Semi-Automatic Modes
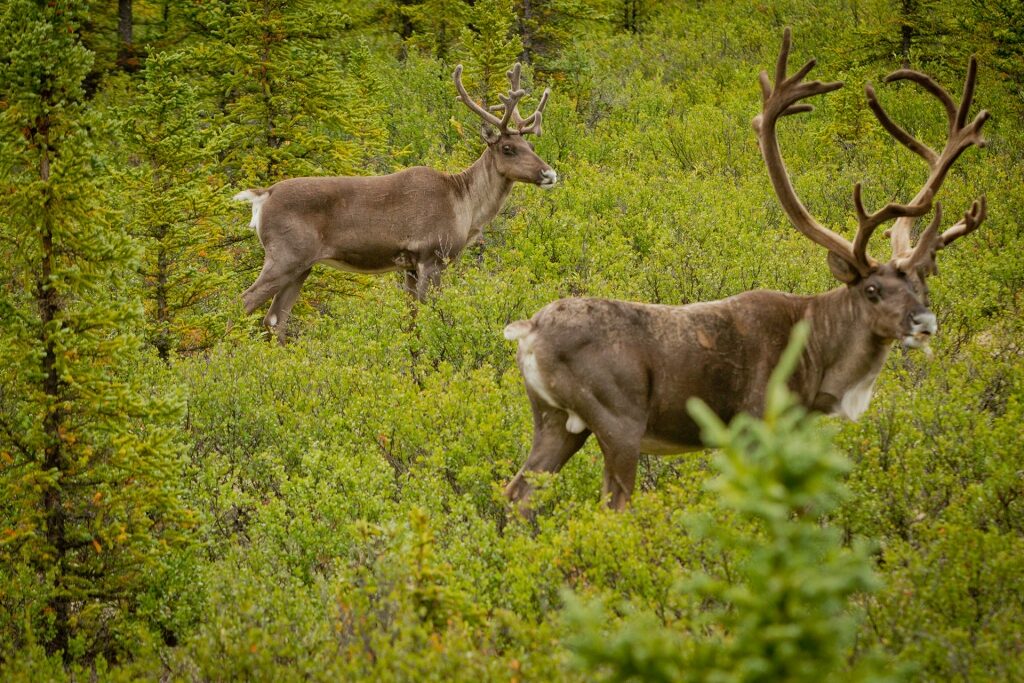
Caribou in Alaska
It’s tricky to make the switch from shooting in automatic mode to manual, but having control over your camera’s settings will set you free to take better images. There will be a learning curve as you navigate the aperture, ISO, and shutter speed settings, but constant practice is the best way to get used to it.
Trying to figure out the workings of your camera beforehand is one of the best wildlife photography tips for beginners. That way, you won’t waste time changing the settings out in the wilderness, which might cause you to miss out on an incredible, fleeting shot.
Another option for beginners that are figuring out how to use manual settings is to set your camera to semi-automatic mode. This is specifically helpful in wildlife photography because of its fast-changing conditions.
Aperture priority mode is a popular choice since it allows you to pick the aperture while the camera adjusts the shutter speed.
Another widely-used semi-automatic setting is a manual mode with automatic ISO. You’ll control the aperture and shutter speed while your camera adjusts the ISO as needed.
Aperture Settings
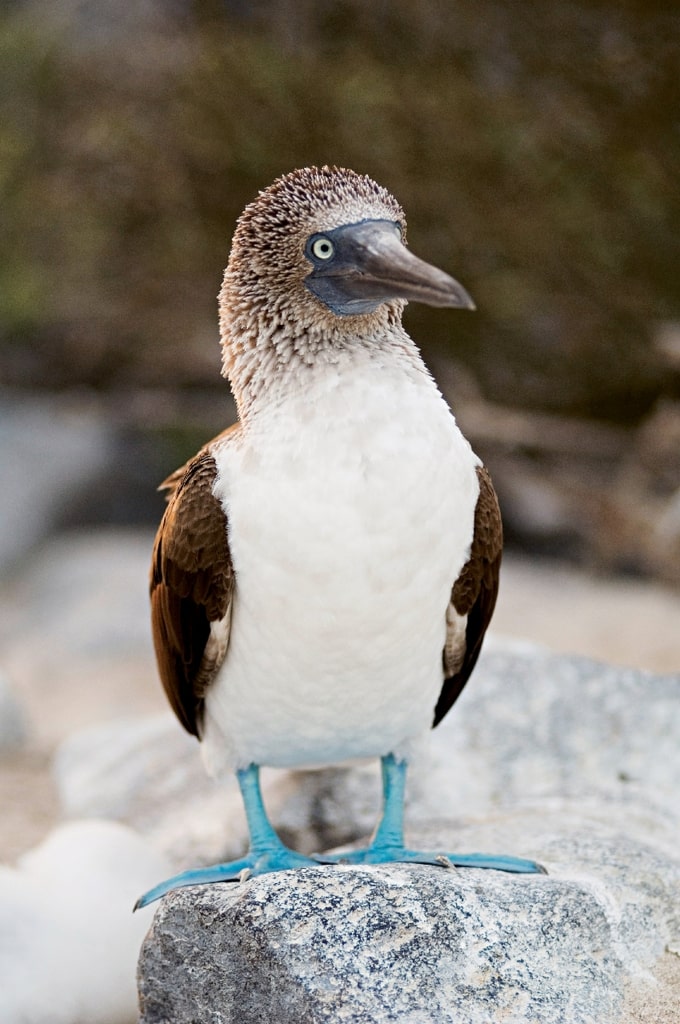
Blue-footed booby in The Galapagos
If you’re shooting wildlife during times of day when light is considerably lower, you’ll want to use a lower aperture or f-stop. Set your camera as wide as the aperture will allow; the lower the f-stop, the more light will be let in. If your lens is capable of going as low as f/2.8, set it there.
Other common apertures are f/4 or f/5.6. Another popular technique that a wide aperture presents is bokeh, or a blurred background, which is often used to take beautiful portraits.
Shutter Speed
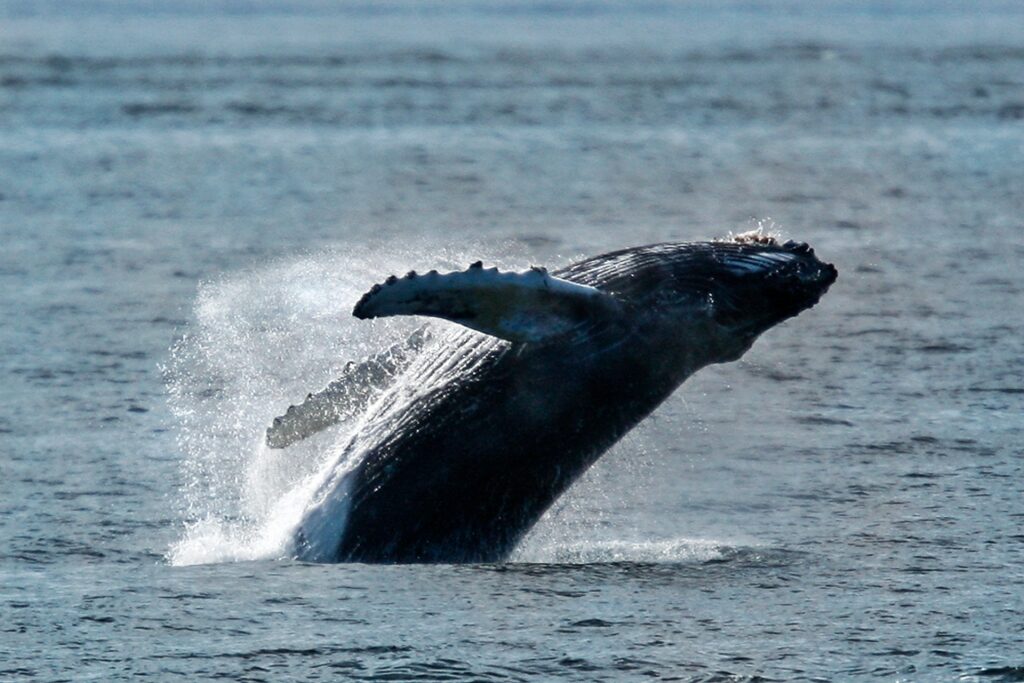
Humpback whale in Alaska
Another setting you’ll have to consider is your shutter speed, which will be affected by the aperture and the possible quick movements of the species you’re photographing. The general rule for this setting is 1/lens focal length.
For example, if you’re shooting with a 400mm lens, you’d set the ISO for 1/400. However, you’ll likely have to bend this rule a bit and adjust your shutter to accommodate for lower light settings.
Try 1/100th for an animal that is standing still and work up from there to see what looks best. If you’re photographing an animal that is moving speedily (either running or flying), you’ll have to increase your shutter speed to 1/1000th or 1/1250th of a second.
Read: Expert Tips for Photographing Alaska’s Landscapes & Wildlife
ISO Settings
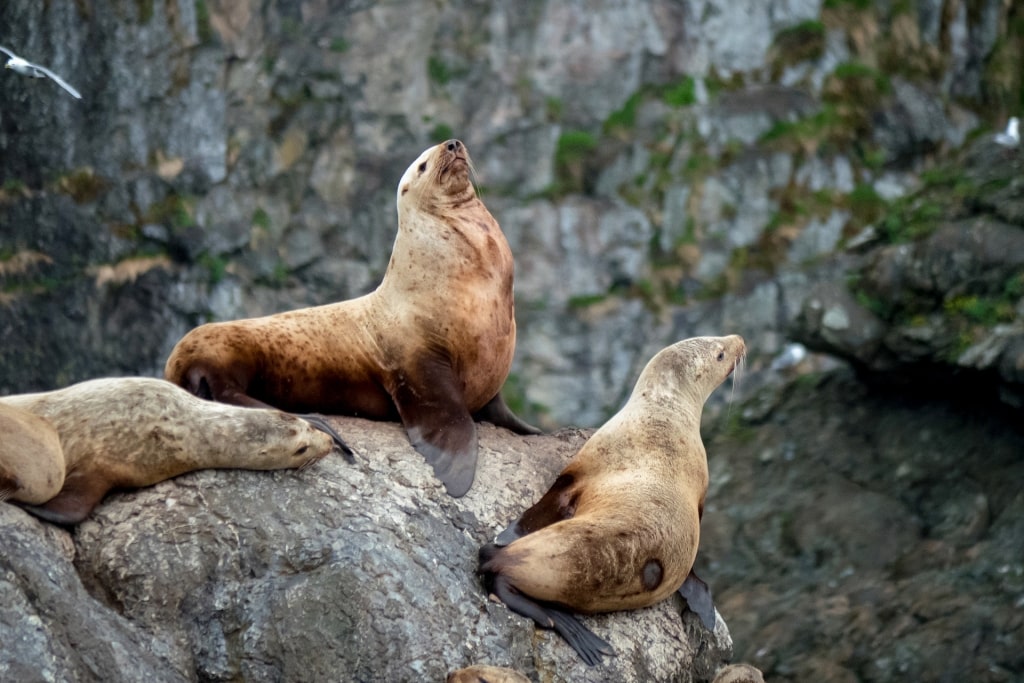
Sea lions in Alaska
You’ll also have to consider at what ISO (International Organization for Standardization) to set your camera based on all the factors already mentioned. The ISO setting controls sensitivity to light. In darker settings, such as sunrise and sunset, you’ll need to bump this up so your photo comes out bright enough.
The more you shoot in manual, the more you’ll become familiar with attaining a solid balance with ISO. If you set it too low, the photo will appear underexposed, but if you set it too high, you may get more noise (meaning a gritty, grainy appearance) or pixelated color within your image.
Finding a healthy in-between is important to maximize clarity while keeping exposure levels in mind. An ISO of 100 will likely be too dark, therefore a good starting point before fine-tuning your ISO could be a value somewhere mid-range, like 600. Depending on the natural lighting, you may have to raise it to 800 or higher.
Use a Tripod
Galapagos
When choosing which equipment to include in your camera bag, a tripod should always be a part of the equation. A lightweight, portable travel tripod can be a game-changer in certain situations, and bringing one is one of the best wildlife photography tips for beginners to consider.
Plus, since you’re most likely going to be toting around a heavier, telephoto lens around, your arm may potentially get tired and could cause you to take shaky photos, making a tripod is crucial.
Another crucial reason to use a tripod in wildlife photography involves the sharpness of your imagery. If you’re shooting an early morning or evening scene, the slow shutter speed settings will require you to keep the camera steady to prevent a shaky or blurry photo, particularly when using max zoom lengths. A tripod is your best bet for a steady, stabilized shot.
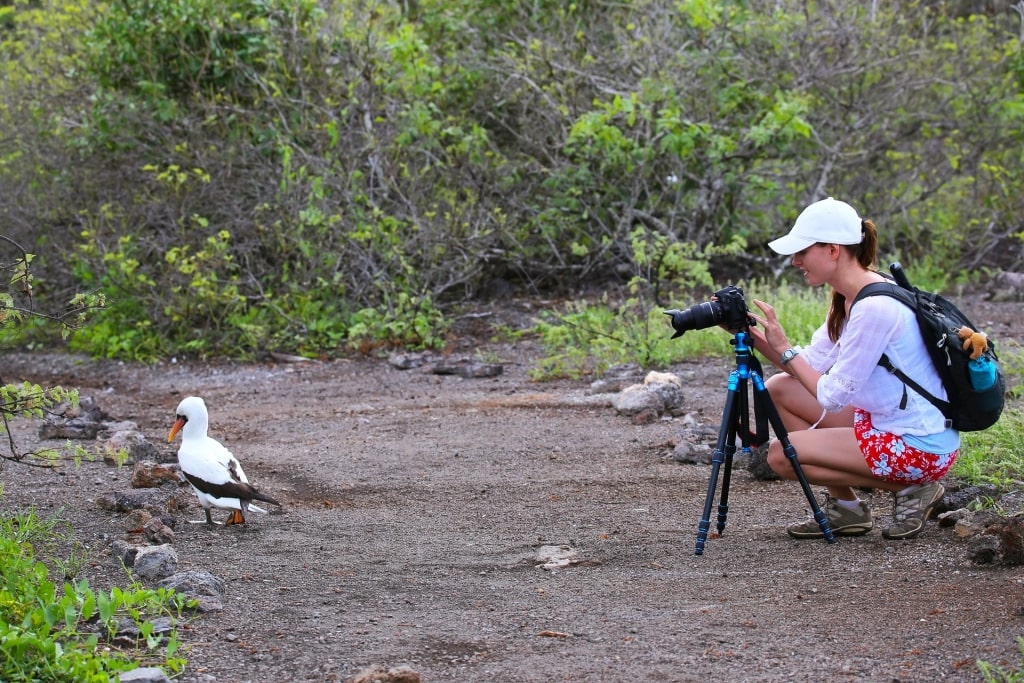
Play With Distance
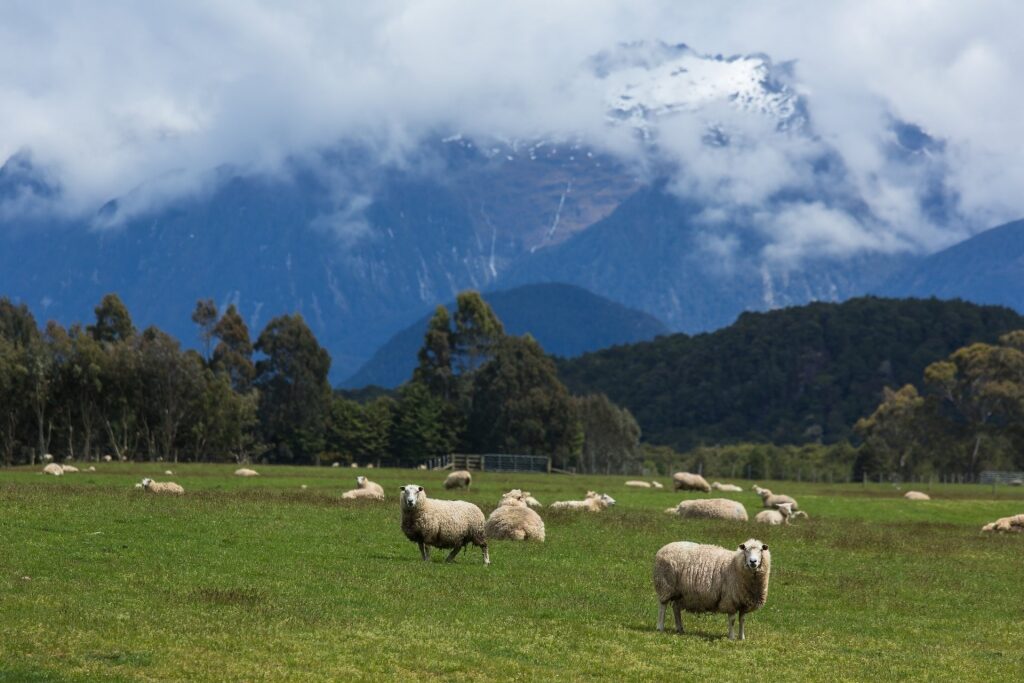
New Zealand
When capturing wildlife in their natural habitat, you’ll have to decide whether you want to obtain a closer shot or something further away to show the animal’s environment. A tight shot can portray interesting details of the species, while a wider scene will show the animal’s settings; both of which can add to the photo and story behind it.
As always, it’s key to take the safety and well-being of both yourself and the wildlife into consideration. Some animals tend to be more comfortable than others with the presence of people. If you’re interested in showing more of the background, make sure to raise your aperture so that the setting is in focus, as well as the animal.
Read: 12 Intriguing Galapagos Birds to Spot on Your Vacation
Get Down Low
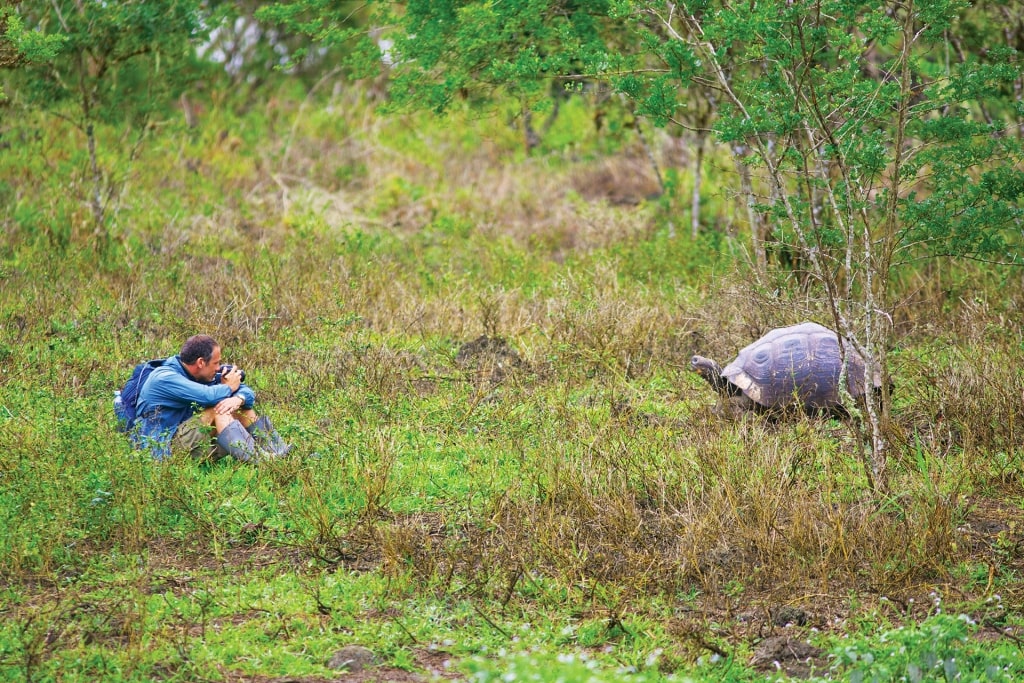
Galapagos tortoise
Don’t be afraid to get on the ground to snap your shot. Placing yourself down at the animal’s level can add an ideal perspective to a wildlife photo, particularly if you’re able to position yourself at eye level with the species.
This can create an image that fully immerses the viewer into the animal’s natural environment. It also provides an artistic and captivating depth to the image that you can’t necessarily attain when taking a photo from other angles.
Another advantage to getting down low is that it may make you seem less intimidating to the animal. While doing this might require rolling around in mud or crouching down into an uncomfortable position, it’ll be well worth your efforts when you produce that compelling photograph.
Focus Choices
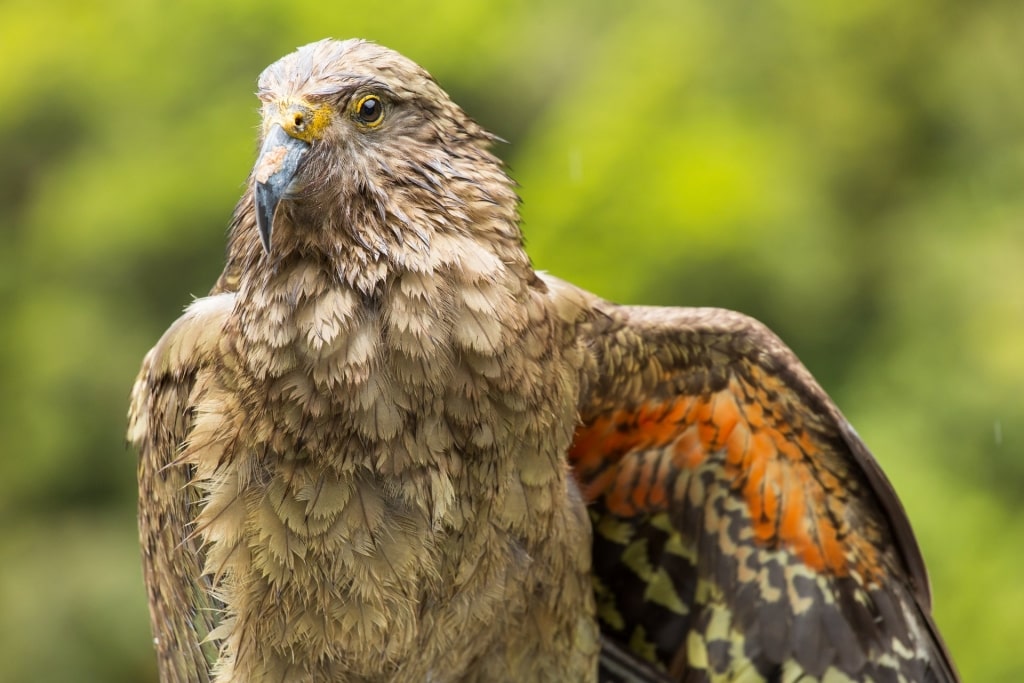
Falcon in New Zealand
When shooting wildlife, continuous auto focus can be an important ally. To start, it will help out in situations when your subject moves on a whim, which is pretty much guaranteed.
For a particularly fast-moving creature, you may want to set your camera to shoot in “burst mode,” which takes many images over the span of seconds. During post-processing, you can then select the few crisp images that turned out well.
If your animal model is more of a slow mover or is staying relatively still, it’s best to employ manual focus. In general, the best method is to focus on the eyes for the sharpest and most effective shot, especially if you’re capturing a tighter portrait of the species. Eyes are great at conveying emotion and often create a strong emotional connection with the viewer.
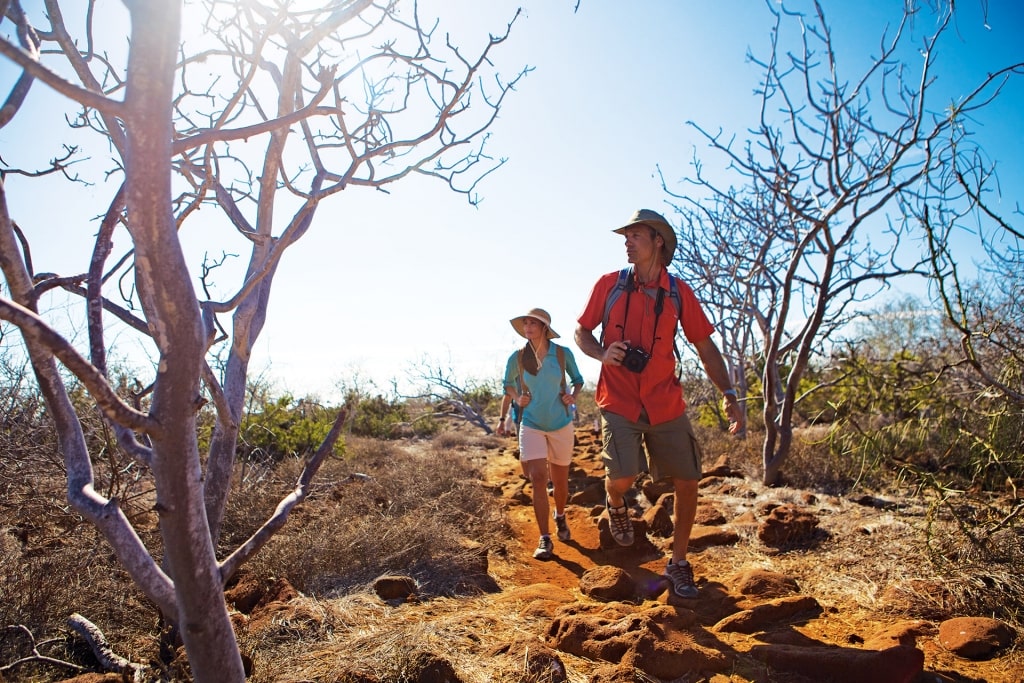
Be Respectful of Nature
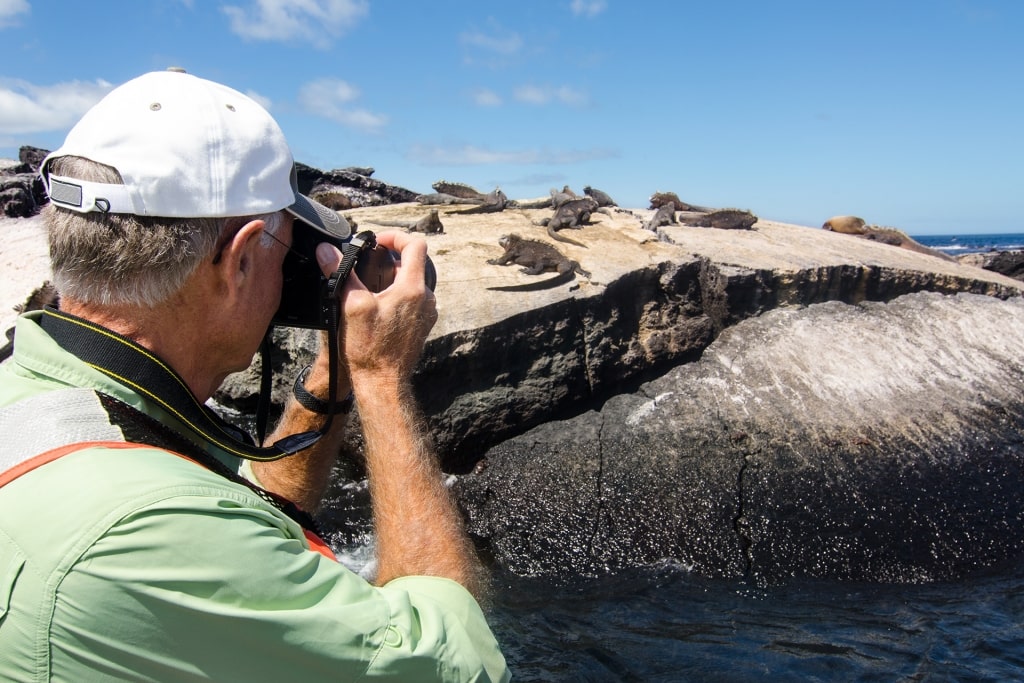
Galapagos
Safe and ethical practices during wildlife photography are a key part of the process. It’s imperative to respect the animals and nature that you’re capturing. Keep a safe distance and research how a specific creature might react if disturbed.
It’s also a good idea to enlist the help of a knowledgeable guide who is familiar with the region’s animals and their habits. Remember to give wildlife ample space for their welfare and your own and never try to affect their behavior in any way to get a photo. Another important rule to live by is to never feed the wildlife, and, of course, no selfies.
Be Patient
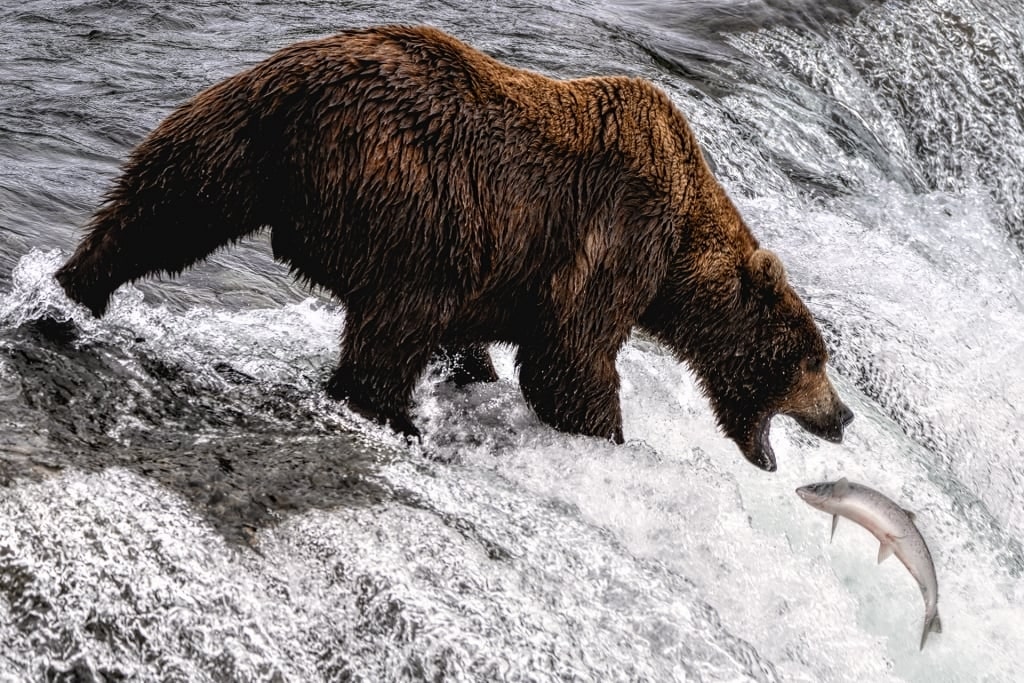
Brown bear in Alaska
Practicing patience is one of the top wildlife photography tips for beginners. Prepare to put in long hours in sometimes unfavorable conditions. If you’re willing to brave the elements, get started early and patiently wait for your subject. By doing so, you’ll already be ahead of the game.
Make sure to take numerous photos so that you have plenty of options to choose from. Finally, a true love and appreciation of nature and wildlife are crucial if you want to excel at this type of photography.
Grab your camera and venture to a myriad of destinations where you can put these wildlife photography tips for beginners to use. Spot giant tortoises in the Galapagos Islands, capture New Zealand’s Fiordland penguins, snap pictures of grizzly bears in Alaska, and get a shot of Iceland’s adorable puffins.
Read: How To Spot Marine Mammals From a Cruise Ship
Galapagos
On one of our cruises, you’ll find there’s no shortage of thrilling animals to photograph. Browse cruise itineraries on our website and book your next vacation today.

